Adding Clients to a Class Manually in Woven
Book clients in person, via WhatsApp, or over the phone — then track their payment, set a custom price, and record attendance in Woven.
Sometimes a client books outside Woven — in person at your studio, via WhatsApp, or through another channel. This guide covers how to manually add them to a class in your admin, collect payment, record their attendance, and keep their booking status accurate.
When to Add a Client Manually
Manual client addition is useful when:
- A client books in person at your studio
- Someone books via WhatsApp or text
- A client calls and pays over the phone
- You’re migrating bookings from another system
- A client has booked multiple classes and you need to record them all
Once added, the booking counts toward your class capacity and appears on your attendee list.
Adding a Client to a Class
Open the class detail view in your admin — tap a class from your Upcoming schedule. At the bottom of the attendee list, you’ll see the ➕ button.

Tap it to open the add client panel. You’ll see a search field where you can:
- Search for an existing client by name or phone number — useful if they’ve booked with you before
- Create a new client if they’re not in your system yet — see Managing Your Clients in Woven for a full walkthrough
<img src=“/assets/img/knowledge/bookings/adding-clients-manually/02-add-client-panel-open.png” alt=“Woven add client panel open with search field showing “Search by name or phone…"" style=“max-width:350px;width:100%;display:block;border-radius:12px;box-shadow:0 1px 3px rgba(0,0,0,.12);” />
Type their name or phone number in the search field. Matching clients appear below. Tap the one you want to add, or if they’re not in the list, you can create a new entry.
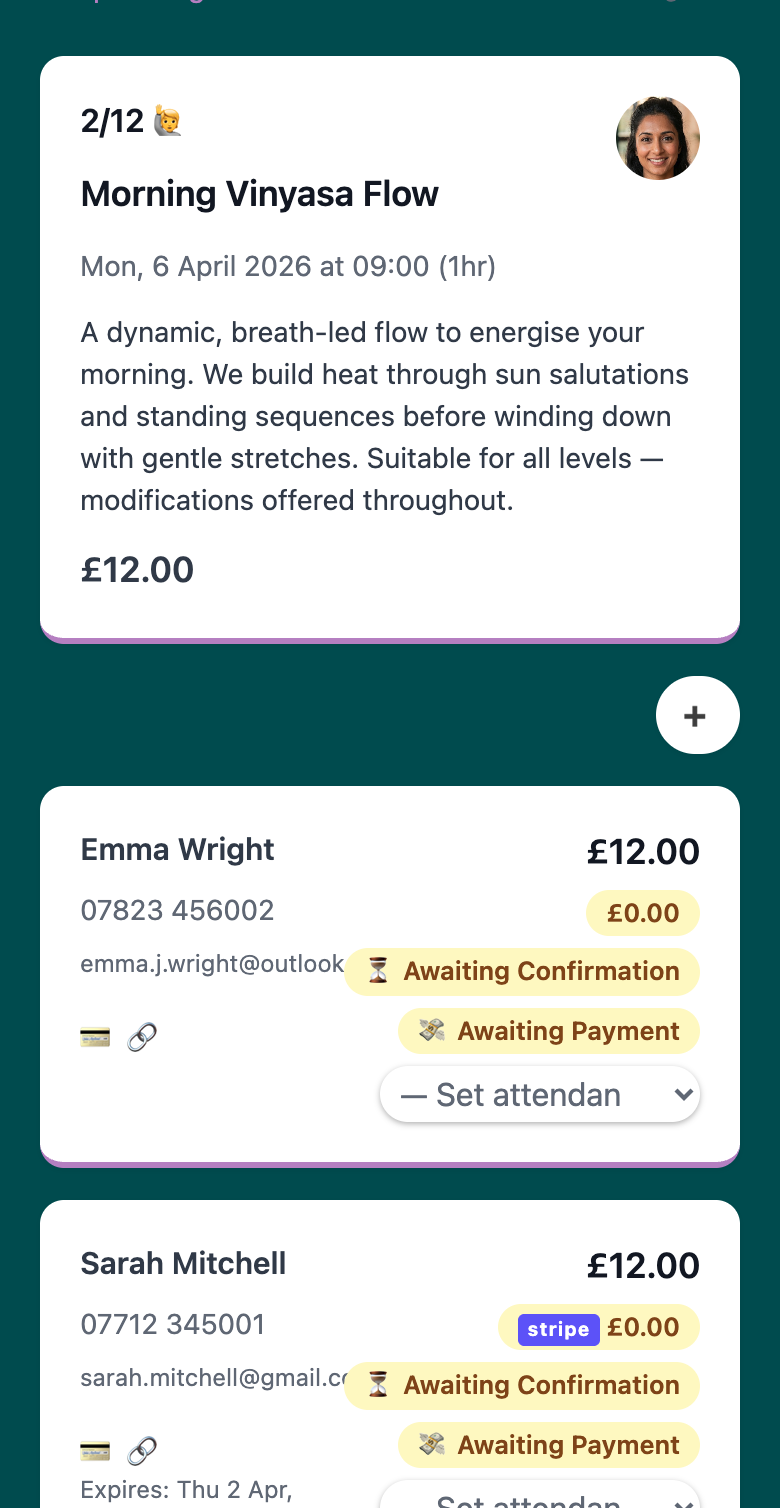

Once selected, the client is added to the class with an Awaiting Confirmation booking status and Awaiting Payment payment status. Their place is reserved — the booking counts toward your class capacity.

Setting a Custom Price
When a client books through your public page, they pay your class’s standard price. When you add them manually, you can set a different price for that individual booking — useful for discounts, package rates, concessions, or special arrangements.
Before collecting payment, open the booking card for that client. You’ll see their current booking price (which defaults to your class price). Tap to edit it and set a custom amount.
You can set the price to:
- A discounted rate — £15 instead of £25 for a loyalty customer
- Pay-what-you-wish — £0.00 to require no payment
- A flat fee — £35 for a makeup class plus a regular class
Once you change the price, save it. The new amount is locked to that client’s booking.
Important: If you’ve already sent a payment link at the original price, changing the price invalidates that link immediately (“Expired: Price Changed”). You’ll need to generate a new payment link at the updated price.
Collecting Payment
There are two ways to collect payment from a manually added client:
Payment Link (Recommended)
For clients who aren’t present in person, generate a payment link from their booking card using the 💳 🔗 button. The link is valid for 24 hours. Send it to them via WhatsApp, email, or text.

When they click the link, they’re taken to a secure payment page where they can pay by card. Once they complete payment, their booking is automatically confirmed and marked as paid. You’ll see the status update in your admin immediately.
If the link expires: Generate a fresh one — the booking record stays reserved on the class. The new link will be valid for another 24 hours.
If the client doesn’t pay: The booking stays on your class as Awaiting Payment. You can:
- Send a reminder payment link
- Mark them as paid if they’ve paid you in cash or by bank transfer
- Remove their booking if they no longer want to attend
Cash or Bank Transfer
If a client pays you in person (cash), by bank transfer, or through another channel, mark their booking as paid directly in your admin — no payment link needed. Open their booking card and update the payment status to Paid. Their record is now complete.
Recording Attendance
After the class is finished, record how each client showed up. Open their booking card and update their attendance status:
- Attended — showed up on time
- Attended (Late) — showed up after the class started
- No Show (Notified Me) — didn’t come, but let you know in advance
- No Show (Unwell) — didn’t come due to illness
- No Show (No Contact) — didn’t come, no message
Record attendance accurately — it helps you track client reliability over time and spot patterns before clients drop off. Your client list in Woven can be sorted by attendance rate, so this data feeds into your client management.
Updating Booking Status
Each booking has two independent statuses: payment and attendance. You manage both from the booking card.
Payment Status
As your client’s payment situation changes, update their payment status:
- Awaiting Payment — payment expected but not yet received
- Paid — payment collected via Stripe, payment link, or manually recorded
- Awaiting Refund — payment received, refund in progress
- Refunded — refund issued
- Void — booking cancelled or invalidated; cannot be changed once set
Status changes are allowed only in certain directions. For example, you can move from Awaiting Payment to Paid or Void, but not back. If you need to undo a refund, the system doesn’t allow it — you’d need to void the original booking and create a new one.
Booking Status (Confirmation)
Separate from payment, a booking also has a confirmation status:
- Awaiting Confirmation — client added but not yet confirmed to attend
- Confirmed — client confirmed to attend
- Cancelled — booking cancelled by you or the client
These statuses help you track who’s definitely coming (confirmed) versus who’s still deciding (awaiting confirmation).
Payment and Attendance Together
Combining these statuses gives you the full picture:
- Confirmed + Paid + Attended — regular booking, client showed up
- Confirmed + Paid + No Show — client didn’t show but had paid
- Confirmed + Awaiting Payment + Attended — client showed up without paying (you need to collect)
- Awaiting Confirmation + Awaiting Payment — client added but not ready yet
Complete Example: End-to-End
Here’s a typical manual booking flow:
- A client books a class in person at your studio.
- You add them to the class manually in your admin (Awaiting Confirmation, Awaiting Payment).
- They want to pay over the phone, but you’re giving them a £5 loyalty discount.
- You edit their booking price from £25 to £20.
- They pay you £20 in cash — you mark their status as paid immediately.
- The class happens and the client shows up on time — you update their attendance to attended.
- Their booking is now confirmed, paid, attended — the record is complete.
Or:
- A client books via WhatsApp — you want to keep it recorded in Woven.
- You add them to the class manually (Awaiting Confirmation, Awaiting Payment).
- You keep their price at the standard £25.
- You generate a payment link and send it via WhatsApp.
- They click the link and pay by card — their status updates to confirmed and paid automatically.
- After the class, you record their attendance as attended.
- Done — the full journey is tracked.
If a Booking Needs to Be Removed
If a client needs to cancel, open their booking card and set their payment status to void. This is a terminal state — once voided, it can’t be changed. The booking is removed from your active list but stays in your record for history.
Related: